Woodcarving: Coiled Rattlesnake
Prepare a block of bass wood that is 3″ thick and 7-1/4″ x 7-1/4″. This can be a solid block, or multiple pieces of wood glued together.

Download and print out the rough template.

Tape the template to the block of wood in two places and place a piece of transfer paper under the template.
Trace the template to transfer the design onto the wood. The tape acts as a hinge, so you can flip up the page and check on the transfer, while keeping it aligned.

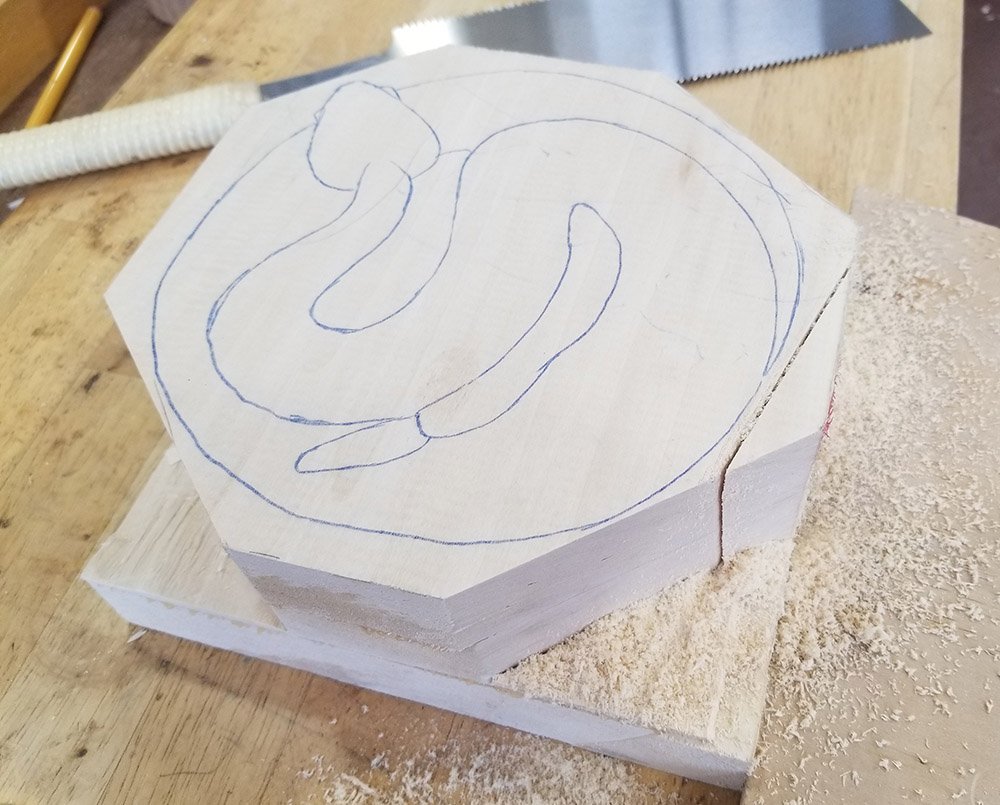
The template should look like this after transferring it.

Use a saw to cut around the outside of the design, to a depth of 2″, starting with all four corners of the block.

Use a chisel to remove the blocks, just above the depth of 2″. This should be left rough for now.

Using this same technique, remove the remaining waste around the design. This will take several cuts.

These sections can be removed by chiseling, or by sawing them.


After all the large sections have been removed, use a bench chisel to pare down all the way around the design, just outside the line.

It should look like this after paring down to the line. Note how the snake head has extra space around it.
Mark all the depths onto the design, as shown on the template.


Begin chopping out the waste near the snake head by using stop cuts. This should take several passes, only going down about 1/4″ on each pass.

It should look like this once you are done chopping around the head.


Referencing the depth numbers you’ve marked on the top of the carving and using a ruler, transfer the outermost markings to the outside of the piece, and draw a line between them. This line should be sloped in some areas, to transition from one depth to another.


On one section of the piece, the 3/4″ deep part ends and the lower section begins. It should be marked like this.

Starting on the section shown here, use a V-tool to carve a groove just outside your line.

On the head, the line should be carved like this, to stay outside the line. The details of the head will be carved later.

Begin removing the outside section by making a stop cut with a gouge that matches the curve of the line, and then doing a removal cut.


Continue doing stop cuts and removing material until you reach the depth marked on the outside. To avoid tearout and chipping, you should do this in many passes.
Some of the larger sections can be removed more quickly by sawing down to the depth and chiseling out the waste (like with the outside section earlier). Be careful if you do this, because the depth of the cut needs to be angled to match the line on the outside.


Keep going until you reach the line.

Once this is complete on the outside layer, draw the depth on the next section and continue the same way as before. This will allow you to continue the 3/4″ depth line, which was previously stopped.