Hand Plane Parts: How a Chip Breaker Works

The chip breaker on a hand plane is also known as the cap iron. The video below shows in detail how the chip breaker works, how to hone it, and how to adjust and tune it properly. Scroll down for the same description in text.
The chip breaker sits on top of the blade, which is attached to the frog of the hand plane.

The chip breaker is also known as the cap iron.
The cap iron screw is a flathead screw with a knurled texture on the outside. This allows it to be hand-tightened while adjusting the chip breaker, and then locked in place with a screwdriver.

The cap iron screw connects the cap iron (chip breaker) to the plane iron (blade).
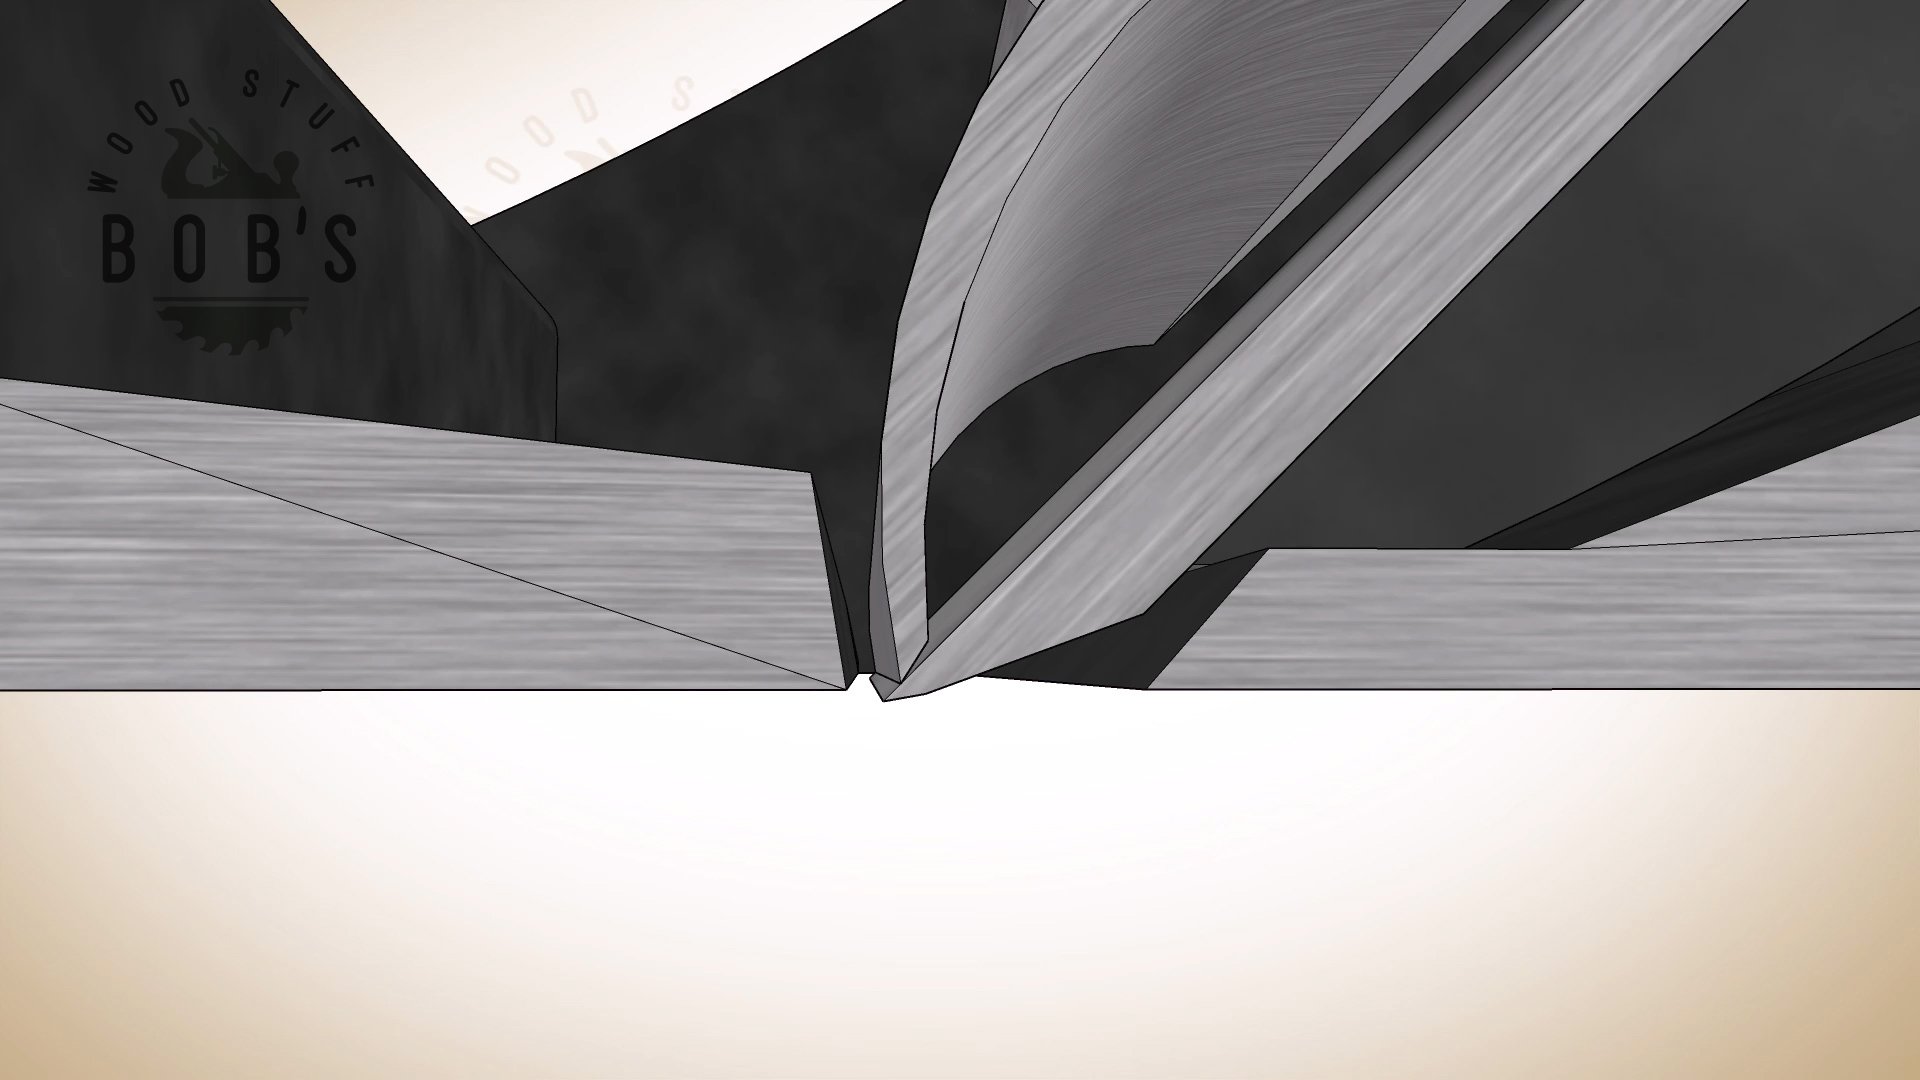
The edge of the chip breaker has an angle that creates a smooth contact with the plane iron. This connection is important because any gaps will cause the hand plane to become clogged with shavings. The chip breaker needs to be honed to maintain a straight edge and ensure this connection works.
Adjusting and Tuning the Chip Breaker
It should be placed between 1/32″ and 1/64″ from the edge of the blade. For fine shavings reveal less of the blade and for thicker shavings for rough stock removal, reveal more of the blade.

The chip breaker is honed to mate tightly with the plane iron.
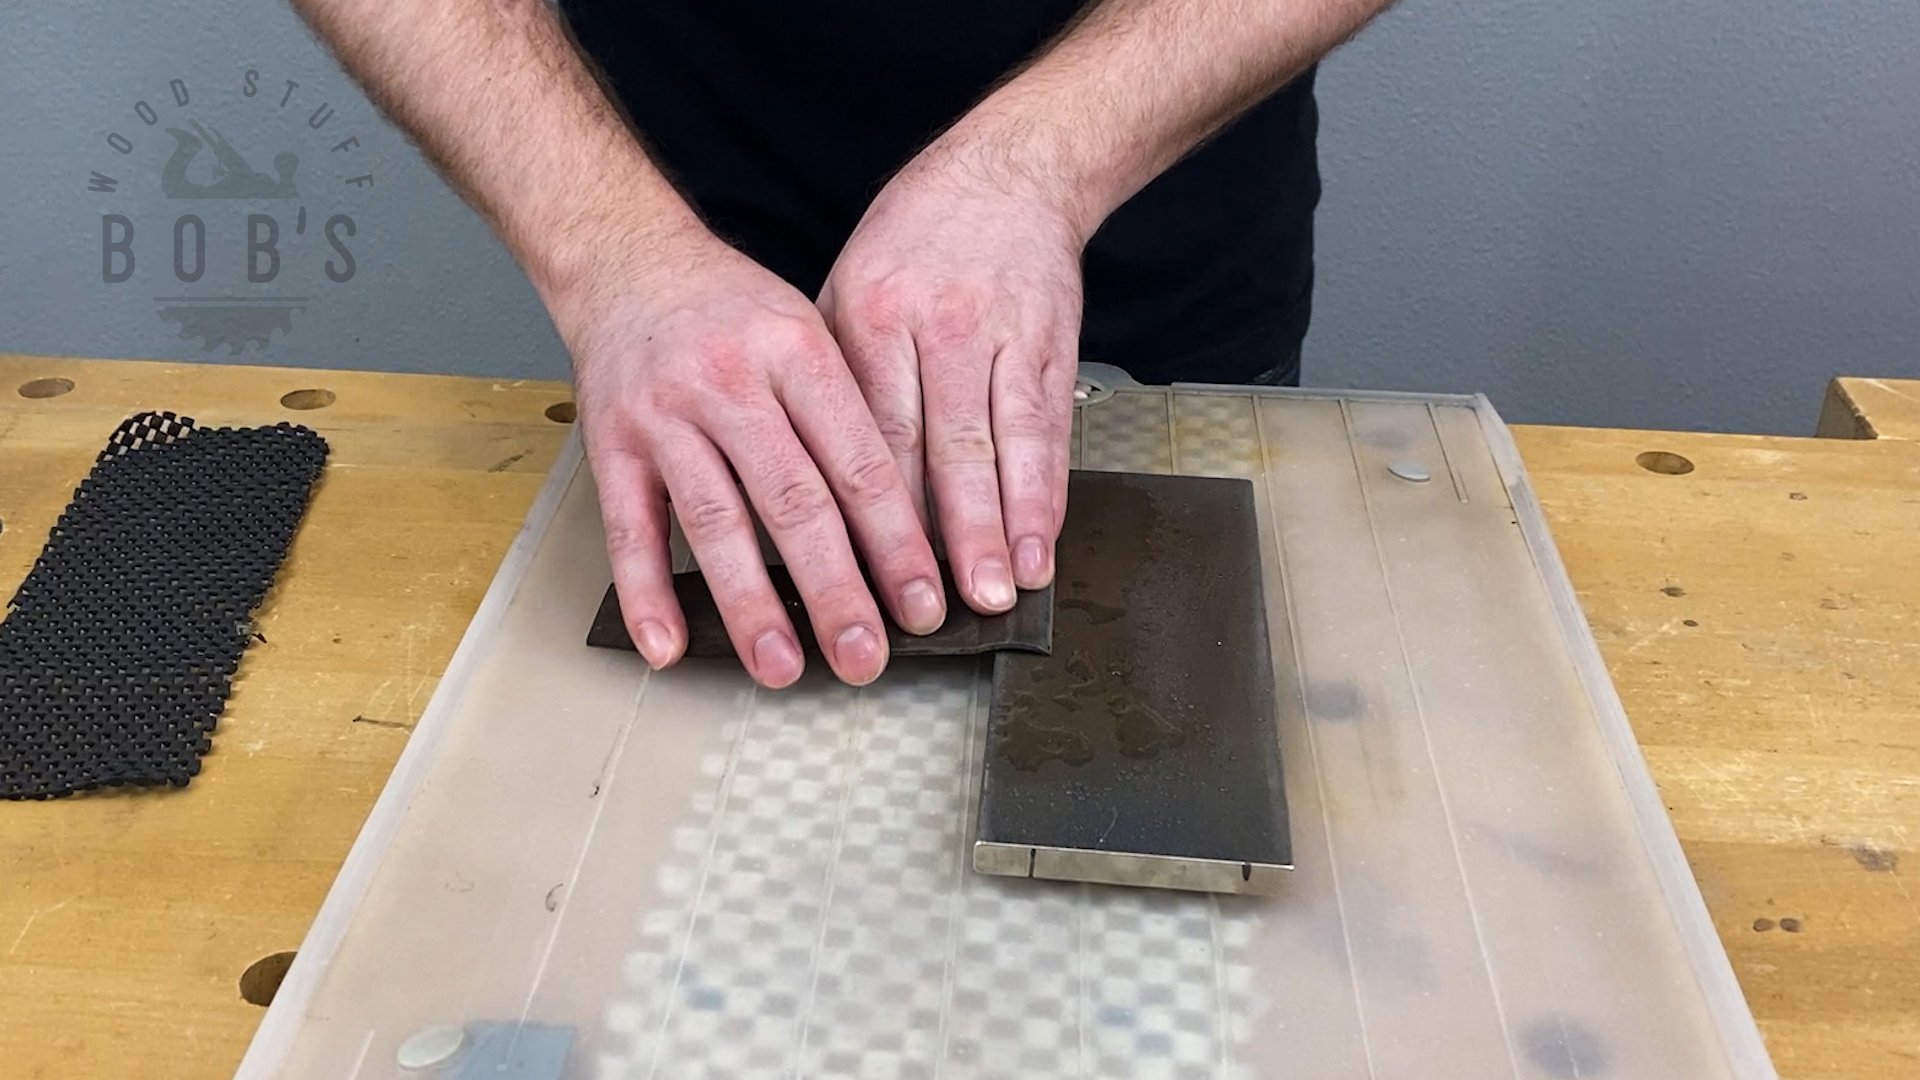
Honing the Chip Breaker
The chip breaker occasionally needs to be honed to ensure a perfect it, which can be done by using a whetstone or a lapping plate. Rest the back end of the chip breaker just below the grinding surface of the stone and slide it back and forth to hone the edge.
Honing the chip breaker
Continue to hone the chip breaker on the whetstone until it has a solid continuous face on the edge. The edge should be one continuous plane, with freshly exposed steel all the way across.

A well-honed chip breaker
Why You Need a Chip Breaker
The plane iron of a hand plane acts like a wedge, and without a chip breaker installed it can split the wood ahead of the blade, following the direction of the grain. This causes tearout (chipout) and results in an uneven wood surface.

Without a chip breaker, a hand plane can cause tearout.
With a chip breaker installed, the shaving collides with the face of that part, which crumples the grain structure. This prevents tearout because the grain is prevented from splitting ahead of the blade.

With a chip breaker, the tearout is reduced.
The hand plane should always be set up so that the blade protrudes through the mouth of the plane and below the sole, while keeping the chip breaker above the sole of the plane. This is the correct setup when tuning a hand plane.

Correct placement and tuning of chip breaker and blade
Adjusting the Cutting Depth on a Hand Plane
The depth adjustment nut is usually made out of brass and shaped like a wheel. It rotates on a reverse-threaded screw attached to the frog and engages the yoke by moving forward and back.

The depth adjustment nut
The top part of the yoke is shaped like the cog of an involute spur gear, and it engages a rectangular hole in the chip breaker. This allows it to advance and retract the blade assembly (plane iron and cap iron) and controls the depth of the cut. This is called longitudinal adjustment.

The top of the yoke engages the chip breaker.
The plane should be adjusted to have a small opening on the mouth. For thicker shavings, the mouth should be opened up wider to allow the shaving to pass through. This is adjusted with the frog adjustment screw.

Adjust the plane to have a small mouth opening.
The frog adjustment screw (lower screw in the image) threads into the body casting. There is a ridge in the frog adjustment screw that engages the screw plate, which is attached to the frog. Turning the frog adjustment screw causes the screw plate to move, and slides the frog forward and backward. This is called parallel adjustment.

The frog adjustment screw moves the frog forward and back.
When making fine shavings for smoothing a piece of wood, the blade should be barely protruding from the plane and the mouth should be tight. Not too tight that the plane clogs, but as tight as possible. This is the setting to use for a smoothing plane.
For fine shavings, use a thin mouth opening.
To make thicker shavings for rough shaping work and removing a lot of stock, reveal more of the blade from the under chip breaker (1/32″ – 1/16″), lower the blade with the depth adjustment nut, and move the frog back with the frog adjustment screw to create a wider mouth opening. This is the setting to use for a jack plane or scrub plane.

For thicker shavings use a wider mouth opening.
For more information on tuning hand planes, check out my Hand Plane Parts playlist on YouTube.